


ControlOMatic ChlorMaker Replacement Electrode
Please be aware that certain brands and products are not eligible for Leisure Time Inc. discounts, including the LT10 code. These items are only discounted during manufacturer-authorized sales. The list of excluded products is subject to change, and we reserve the right to adjust it as needed. It’s important to note that limitations are set by the manufacturers, who have the discretion to determine which products are excluded from discounts.
Brands:
- Gozney
- OHCO
- Positive Posture
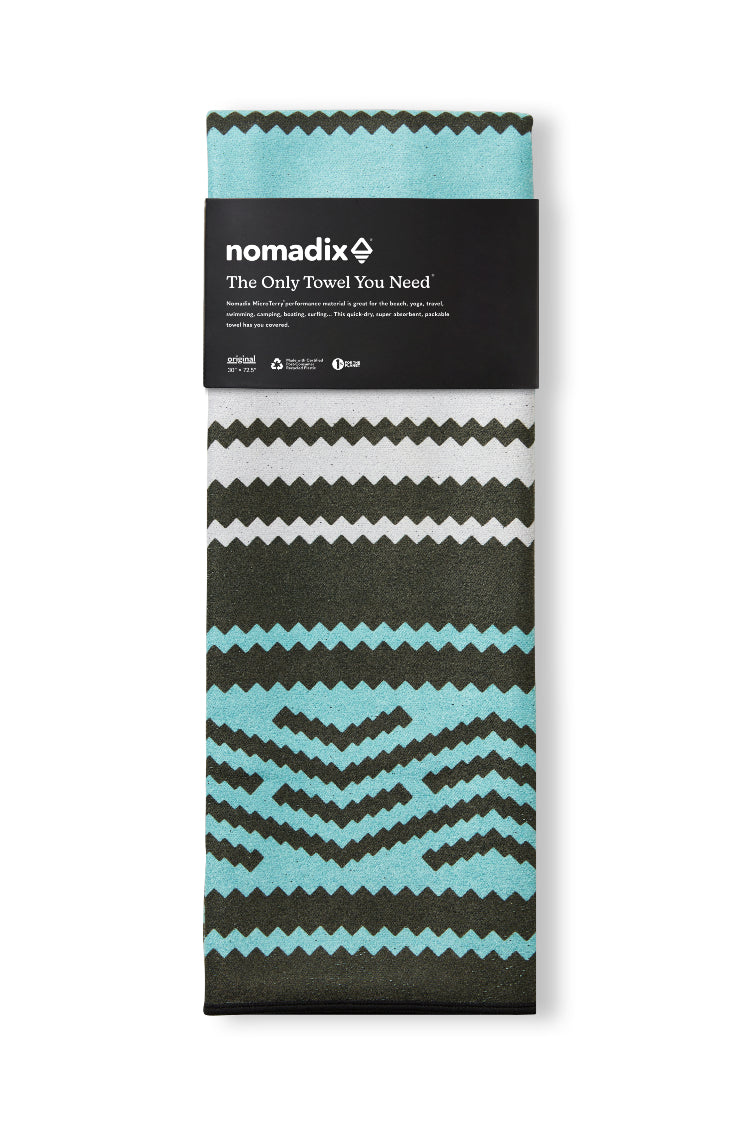
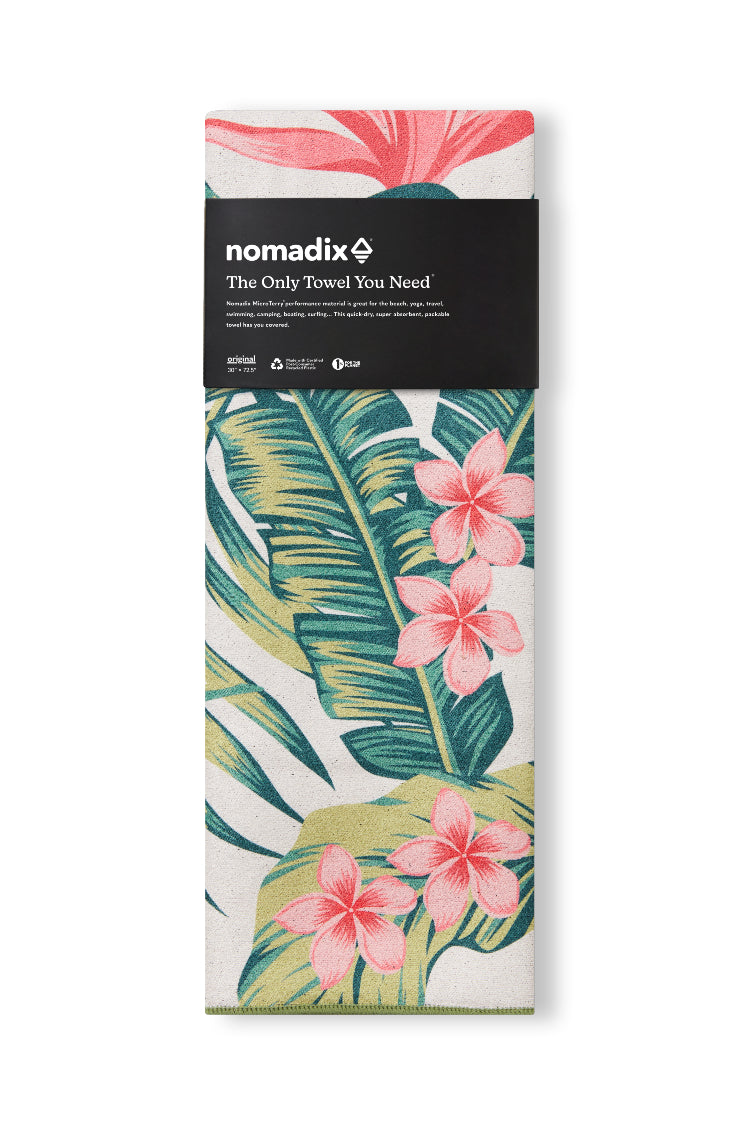
- Nomadix
- FreshWater Salt System Replacement Cartridge (3 Pack)
- FreshWater Salt System Replacement Cartridge
- Route Protection Insurance
- Bullfrog A / R / X Series 10-00282 Filter Cartridges
- Bullfrog STIL Series 10-00281 Filter Cartridges
- FROG® @ease Sanitizer System for Bullfrog Spas
- FROG® @ease Replacement Cartridge for Bullfrog Spas (3 Pack)
- Bullfrog Simplicity™ Flat Filters for M Series (4 Pack)
- Filter Core Cage & Cap Assembly for Bullfrog Spas
- Fireplaces
- Electric Fireplaces
ControlOMatic ChlorMaker Replacement Electrode
Overview
Unfortunately, some things just break. The replacement electrode was created in the rare case that your current electrode is malfunctioned. Replacing the Chlormaker electrode will allow your salt chlorine generator to begin chlorinating again if your old Chlormaker electrode has been depleted. The Chlormaker electrode sanitizes your swimming pool in an eco-friendly and cost-efficient way, and also helps provide a luxurious swimming experience without the eye irritation and dry skin. Only compatible with the ControlOMatic ChlorMaker.
What’s in the Box
- 1 x Replacement Electrode for ChlorMaker
Features
- Replacement Electrode with Chlorine Detection
- 10 Foot Cord
Directions
Replacement Electrode Installation Guide:
- Use a large screwdriver to unscrew the four housing screws on the back of the controller, then remove the lid from the main case. There is a gasket that lines the inner seam of the lid. If it falls out, place it back in the channel with the flat edge facing out, then press the corners in place with a small tool.
- Make sure the power supply is unplugged, then disconnect the electrode wires from the circuit board using a small flathead screwdriver to loosen the clamps in the wire terminal.
- Unscrew the round cap on the plug that holds the cable in place, then pull the cable free from the housing.
- Take your new electrode and thread the cable through the round plug (do not tighten it yet). After the electrode wire has been inserted into the controller through the round plug, take the ferruled ends of the cable and connect them into the clamps on the wire terminal where the previous electrode was connected, then take your small screwdriver and tighten the clamps. (see image below for connection order)...
- Take your wrench and tighten the round plug until tight, then take the lid (make sure the lid gasket is laying flat), put the lid on the controller and tighten screws as tight as you can without stripping them.
- Note: If your unit is a ChlorMaker or MegaChlor DO, connect both wires in any order in the Cell R and Cell B ports.
Brand
ControloMatic®