How to Replace Your Hot Tub Control Panels: A Step-by-Step Guide
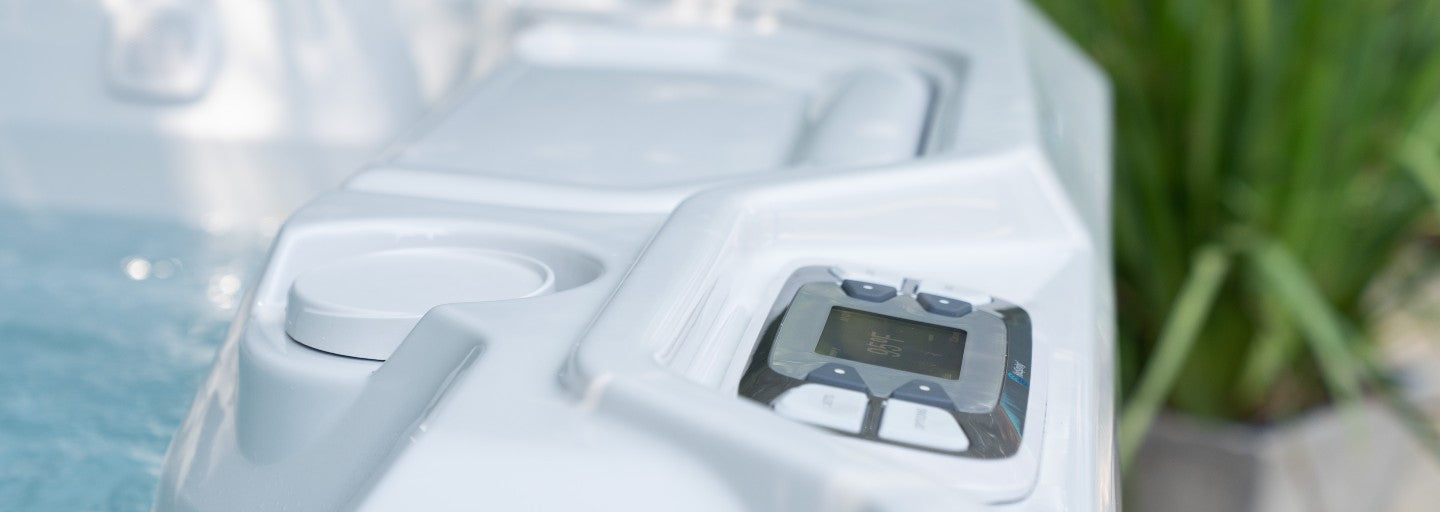
Hot tubs are a great source of relaxation and rejuvenation, offering a luxurious experience in the comfort of your own backyard. However, over time, the control panel of your hot tub may wear out or become unresponsive. In such cases, replacing the control panel becomes necessary to ensure optimal performance. While it may seem like a daunting task, replacing your hot tub's control panels can be a straightforward process with the right guidance. In this blog post, we'll provide you with a step-by-step guide to help you replace your hot tub control panels effectively.
Step 1: Gather The Necessary Tools & Parts
Before starting the replacement process, it's important to gather all the required tools and parts. Typically, you'll need a screwdriver, pliers, a multimeter (to test electrical connections if needed), and a new control panel specifically designed for your hot tub make and model. Ensure that you purchase the appropriate replacement control panel from a reliable supplier or directly from the manufacturer.
Step 2: Turn Off Power & Drain the Hot Tub
Safety should always be a top priority when working with electrical components. Start by turning off the power to your hot tub at the main circuit breaker. This step is crucial to prevent any electrical accidents during the replacement process. Next, drain the hot tub according to the manufacturer's instructions to ensure a dry and safe work area.
Step 3: Remove the Old Control Panel
Carefully remove the old control panel by unscrewing the mounting screws. Depending on your hot tub model, the control panel might be attached to the spa's cabinet or located inside a protective cover. Take note of the wiring connections and their respective colors, making it easier to connect the new control panel later.
Step 4: Disconnect Wiring Connections
Using your pliers or screwdriver, carefully disconnect the wiring connections from the old control panel. It's crucial to handle the wires with care to avoid any damage. If necessary, take pictures or label the wires to ensure proper reconnection with the new control panel.
Step 5: Install the New Control Panel
Align the new control panel in the same position as the old one and reattach it using the mounting screws. Begin reconnecting the wiring connections one by one, ensuring they are securely fastened. Double-check the wire colors and reference any photos or labels you made earlier to ensure proper connections.
Step 6: Test the Control Panel
Once all the wiring connections are complete, it's time to test the new control panel. Turn on the power at the main circuit breaker and follow the manufacturer's instructions for initializing and testing the control panel. Check if all the buttons and functions are working correctly, including temperature control, jets, lights, and any additional features your hot tub may have.
Step 7: Secure & Seal the Control Panel
After confirming that the new control panel is functioning properly, secure it in place by tightening the mounting screws. Ensure that the panel is properly aligned and sealed, protecting it from moisture and debris. This step is crucial to prevent any potential damage to the control panel and ensure its longevity.
Conclusion
Replacing your hot tub control panels may seem like a complex task, but by following the step-by-step guide outlined above, you can successfully complete the process. Remember to prioritize safety by turning off the power and draining the hot tub before starting. Take your time to carefully disconnect and reconnect the wiring connections, verifying the color codes and using any references you made. Once the new control panel is installed, test its functionality and make sure all the features are working as expected. By following these steps, you'll be able to enjoy your hot tub with a brand new control panel, ensuring a seamless and relaxing experience for years to come.


